

How to Remove Cards from Apple Pay
Let’s face it, our Apple Pay wallets can get cluttered with old cards we barely use anymore. Maybe you got a new credit card with better rewards, or that store loyalty card you used once just isn’t your vibe anymore. Whatever the reason, cleaning out those unused cards is a great way to keep your digital wallet organized and snappy. Here’s the lowdown on how to remove cards from Apple Pay on your iPhone, iPad, or Apple Watch. It’s easier than you think!
iPhone Farewell

1. Open the Wallet app: This is where your digital squad of cards and passes hang out.
2. Pick the card to yeet: Tap on the card you’re ready to say “buh-bye” to.
3. Find “Remove Card”: This might be chilling at the bottom of the screen or near the card details. Seek and destroy!
4. Confirm the Delete: A pop-up will usually ask you to confirm. Tap “Remove” to make it disappear like a digital magic trick.
iPad Cleanup
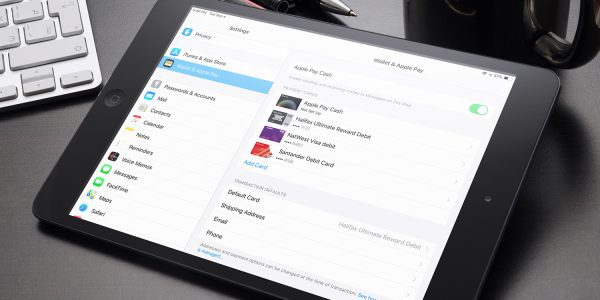
The steps for saying “sayonara” to cards on iPad are pretty much the same as iPhone:
1. Launch the Wallet app: Get that Wallet app fired up on your iPad.
2. Choose the card to remove: Tap on the card you want to banish from your Apple Pay realm.
3. Locate “Remove Card”: Find that “Remove Card” option, usually near the bottom or within the card details.
4. Confirm, my friend: A confirmation message will likely appear. Tap “Remove” to seal the deal.
Apple Watch Waving Goodbye
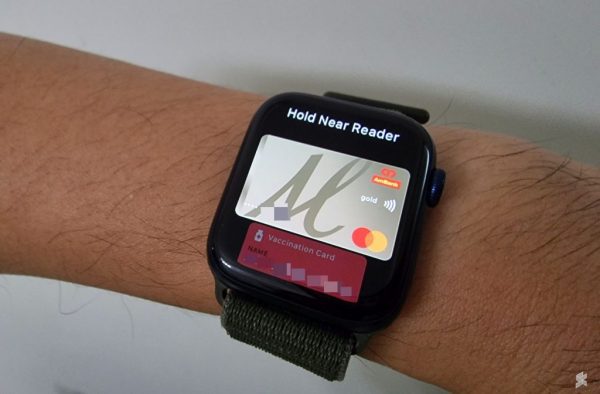
Removing cards from your Apple Watch is also a breeze:
1. Open the Watch app on your iPhone: You’ll need your iPhone as your Apple Watch’s digital wallet sidekick.
2. Navigate to “Wallet & Apple Pay”: Within the Watch app, tap on “Wallet & Apple Pay.”
3. Select the card for removal: Choose the card you want to ditch from your Apple Watch.
4. Tap “Remove Card”: Once you select the card, tap on “Remove Card.”
5. Confirm on your Apple Watch: A confirmation message will appear on your Apple Watch. Tap “Remove” to say adios.
Just a Friendly Reminder
Removing a card from Apple Pay only deletes it from your digital wallet. It doesn’t cancel the actual card itself. If you ever want to cancel a card, you’ll need to contact your bank or credit card issuer for those steps.
And hey, if you ever miss that banished card, you can always re-add it to your Apple Pay fam through the usual process in the Wallet app.
So there you have it! With these simple steps, you can remove those unused cards from your Apple Pay wallet on iPhone, iPad, or Apple Watch in a flash. Now your digital wallet will be streamlined and ready to help you conquer your next shopping spree!
FAQs: Decluttering Your Digital Wallet – Removing Cards from Apple Pay
Q: How do I remove a card from Apple Pay on my iPhone?
A: Open the Wallet app, tap the card you want to remove, scroll down (or tap on card details) to find “Remove Card,” and confirm the removal.
Q: Can I remove cards from Apple Pay on my iPad too?
A: Absolutely! The process is similar to iPhone. Open the Wallet app, select the card, find “Remove Card” (usually near the bottom or card details), and confirm.
Q: How do I delete cards from Apple Pay on my Apple Watch?
A: You’ll need your iPhone for this. Open the Watch app on your iPhone, tap “Wallet & Apple Pay,” choose the card to remove, tap “Remove Card,” and confirm the removal on your Apple Watch.
Q: Does removing a card from Apple Pay cancel it altogether?
A: No, removing a card from Apple Pay only deletes it from your digital wallet. To cancel the actual card, contact your bank or credit card issuer.
Q: What if I want to add that banished card back to Apple Pay later?
A: No worries! You can always re-add the card through the normal process in the Wallet app.
Leave a Reply