
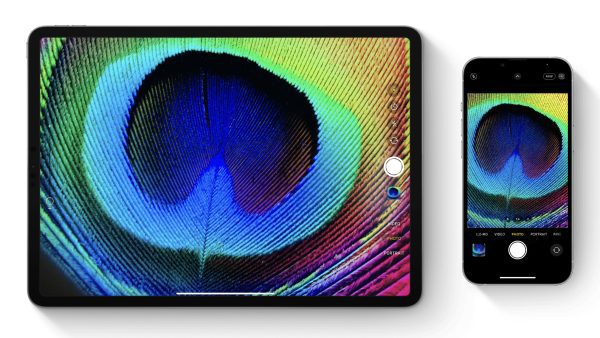
How to Crop Photos Like a Pro on Your iPhone
Ever taken a fantastic photo on your iPhone, only to find unwanted elements at the edges ruining the composition? Fear not, fellow photo enthusiast! Knowing how to crop your photos is a breeze with the built-in editing tools on your iPhone. Here’s a quick guide to transform those good shots into frame-worthy masterpieces.
Sharpen Your Focus: Cropping Basics
1. Open the Photos app and select the image you want to crop.
2. Tap Edit in the top right corner.
3. Look for the Crop icon (it resembles a square with corners) at the bottom of the screen. Tap it to activate the cropping tools.
Frame It Right: Manual Cropping
Now you have the power to control the final composition! Here’s how to use the manual cropping tools:
1. Drag the white corners and edges of the grid to adjust the area you want to keep.
2. Pinching in or out on the photo allows you to zoom and control the level of detail.
3. For a perfectly straight crop, use the handy grid overlay that appears when you start cropping.
Pre-Set Perfection: Aspect Ratio Magic
Maybe you have a specific use in mind for your photo, like a social media post or a printed picture. Thankfully, your iPhone offers a variety of pre-set aspect ratios to make cropping even easier:
1. Tap the Aspect Ratio button (looks like squares stacked on top of each other) located at the top right corner.
2. Choose from options like Square, 16:9 (widescreen), 4:3, or even a custom ratio depending on your needs.
Fine-Tuning Your Crop:
i. Feeling indecisive? The Reset button (top center) brings your photo back to its original state.
ii. Need a minor adjustment? Use the straighten tool (two intersecting lines) to correct any unwanted tilt.
Saving Your Masterpiece:
Once you’re happy with your crop, simply tap Done in the top right corner. Your cropped photo will be saved as a new image, leaving the original untouched.
Bonus Tip: Quick Cropping
For a super-fast crop, open the photo you want to edit and pinch in on it. When the image appears how you like it cropped, tap the Crop button that appears in the top right corner. You can then make any final adjustments before saving.
Crop with Confidence!
With these simple steps, you’ll be cropping your photos like a pro in no time. Remember, cropping allows you to highlight the most compelling parts of your image and tell a stronger visual story. So go forth, experiment, and unleash your inner photo editor!
Here are some frequently asked questions (FAQs) about cropping Photos like a Pro on your iPhone:
1. Q: Can I crop a photo to a specific size (e.g., for printing)?
A: Unfortunately, the built-in Photos app doesn’t allow setting custom crop dimensions in millimeters or inches. However, you can use the pre-set aspect ratios (like 4:3 for printing) or crop manually and eyeball the size based on the gridlines.
2. Q: What happens to the original photo after I crop it?
A: The beauty of using the Photos app editor is that it creates a new cropped image. Your original photo remains untouched and safely stored in your library.
3. Q: How can I crop multiple photos at once?
A: The Photos app doesn’t currently offer batch editing for cropping. However, you can use third-party photo editing apps that might have this feature.
4. Q: My photo looks blurry after cropping. Why?
A: Cropping essentially removes pixels from your image. The more you crop, the smaller the final image size becomes. This can lead to a loss of quality and a blurry appearance. It’s recommended to crop conservatively and avoid excessive zooming in.
5. Q: Are there any other editing tools available after cropping?
A: Absolutely! The Photos app editor offers a variety of other tools after you crop your photo. You can adjust brightness, contrast, rotate the image, and even add filters to further enhance your creation.
Leave a Reply